The Ultimate Guide to Cleaning PCBs – Tips and Techniques for Effective Maintenance
Printed circuit boards (PCBs) form the backbone of modern electronic devices. As they contain complex circuits, components, and solder connections that require regular cleaning and maintenance for optimal performance and reliability, PCBs need regular attention as part of preventive care to stay healthy and avoid potential problems. In this article we will look at various techniques and tips to effectively clean PCBs to extend their longevity while mitigating potential issues.
1. Importance of Cleaning PCBs:
Regular cleaning PCB is critical for several reasons. First and foremost, it helps remove dust, dirt, and other contaminants that accumulate on their surface or inside components, which could negatively impact functionality or electrical conductivity and cause potential short circuits or component failure. Furthermore, proper cleaning allows timely repairs or replacements should any existing or potential defects be detected through inspection allowing repairs or replacements to take place promptly.
2. Take Precautions Before Cleaning PCB:
Before beginning the cleaning PCB process, it is crucial to take certain measures in order to protect both the PCB and its components from being damaged. Here are a few essential steps:
- Switch Off The Device: Before beginning to cleaning PCB, always switch it off and unplug it from its power source to ensure safety and prevent accidental electrical current damage to its PCB.
- Wear Antistatic Protection: To guard against electrostatic discharge (ESD) damage and protect sensitive electronic components on a PCB from ESD damage, always wear an antistatic wristband or gloves with ESD protection capabilities. ESD may damage crucial electronics components on the board and even destroy them entirely.
- Document Component Locations: Take clear photographs or make notes to help ensure proper reassembly after cleaning PCB device. This will enable reassembling it correctly after maintenance is complete.
- Gather Cleaning Tools: Assemble an essential cleaning kit containing these tools:
- Soft brush or toothbrush
- Isopropyl alcohol (IPA)
- Cotton swabs
- Compressed air canister
- Distilled water
- Lint-free microfiber cloth
3. Dry Cleaning: for Cleaning PCB:
Dry Cleaning should be the initial step of cleaning PCB process and involves removing dust and debris with these steps:
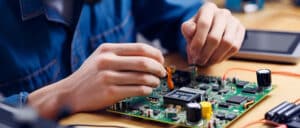
- Use a soft brush or toothbrush to carefully and safely brush away any visible dust or debris from the PCB surface.
- Use a compressed air canister to blow away any remaining loose particles. Make sure the canister remains upright, using short bursts of air from short distance.
- Inspect the PCB for any signs of dirt or stains which require further attention.
4. Wet Cleaning PCB:
To properly perform wet cleaning PCB surface, the use of an antimicrobial cleaner is required to effectively eliminate more persistent contaminants that adhere to its surface. Here’s how:
- Dampen a cotton swab with isopropyl alcohol (IPA). Do not soak; instead leave the cotton moistened.
- Gently rub the moistened swab along the PCB surface, paying special attention to areas with dirt or residue buildup. Take care not to apply excessive pressure.
- To finish, use a cotton swab soaked in distilled water to rinse away any residual alcohol or residue on the PCB surface. Do this step until all alcohol or residue has been removed from it.
5. Clean Components and Connectors:
In addition to cleaning the PCB surface, it is also necessary to carefully examine each component and connector individually for dust. Here are the steps:
- Disconnect any cables and connectors connected to the PCB.
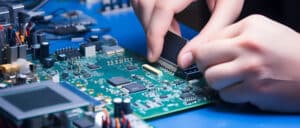
- Moisten a cotton swab with isopropyl alcohol and carefully wipe down component leads or connector pins with it, using gentle pressure.
- If necessary, use compressed air to dislodge any loose debris.
- Prior to reattaching components or connectors to the PCB, make sure they have been thoroughly dried out.
6. Drying and Final Inspection:
Once finished with cleaning, allow the PCB to air dry thoroughly without using heat sources such as hairdryers; these could damage it further. After drying completely, perform one final visual inspection to make sure all dirt, residue or moisture has been eliminated before reassembling using initial documentation of component locations.
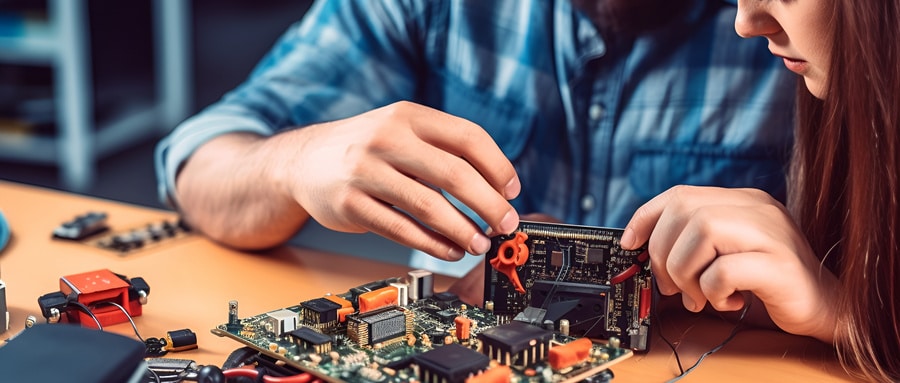
Routine PCB cleaning and maintenance is key for optimal performance and longevity, and by following the techniques and tips outlined here you can effectively clean them, remove contaminants, and mitigate potential issues. Always take necessary precautions, use appropriate cleaning agents, and handle the board carefully – proper care will allow your PCBs to continue serving their purpose reliably, thus contributing to smooth electronic device operation.
FAQ:
- Why is cleaning PCB important?
Cleaning PCBs is an essential step in the assembly process because it removes potential contaminants such as solder flux, dust, and other residues. These contaminants can lead to rapid corrosion, solder joint degradation, or even short circuiting, affecting the PCB’s functionality, performance, reliability, and lifespan. - What are some common methods for cleaning PCBs?
Common methods include ultrasonic cleaning, manual cleaning with brushes, and spray washing. All these methods usually involve a solvent or cleaning agent. Automated cleaning machines are also widely used in industrial settings for large volume manufacturing. - What types of cleaning solutions are used for PCB cleaning?
Most cleaning solutions are either water-based, semi-aqueous, or solvent-based. Which one you use depends on the type of contamination you’re dealing with, the components on the board, and environmental considerations. - Can cleaning a PCB damage it?
Too aggressive cleaning can potentially damage the PCB, leading to solder joint breakages, component displacement, or even damaging the PCB material itself. It is important to always follow manufacturer recommendations and to use the correct cleaning method for the specific PCB. - Are PCBs always cleaned after assembly?
While it is ideal to clean PCBs after assembly to ensure optimal performance, it is not always done, particularly in low-cost manufacturing or when using certain types of no-clean solder paste. In these cases, the small amount of residue left by the solder is not significant enough to require cleaning. - What precautions should be taken when cleaning PCBs?
Ensure that the cleaning method and solvent do not damage the PCB or its components. Try to avoid touching the PCB surface as much as possible to prevent oil or dirt contamination. Always dry the PCB thoroughly after cleaning to prevent moisture damage. - How are PCBs dried after cleaning?
PCBs can be air-dried, left under a heat lamp, placed in an oven, or subjected to a hot air knife drying process. The best method usually depends on the type of cleaning solvent used and the specific PCB. - Can home users clean their own PCBs?
Yes, home electronics enthusiasts can clean their own PCBs. Isopropyl alcohol (IPA) is often used with a soft brush or cloth. However, extra caution should be taken when cleaning to avoid accidental damage to the components or the PCB. - What is a no-clean flux?
No-clean flux is a type of solder flux that is designed to leave minimal residue after reflow that doesn’t need to be cleaned off. It’s commonly used in industries where cleaning the PCB after assembly is not feasible or cost-effective. - Are there any environmental considerations when cleaning PCBs?
Yes, many solvents used for cleaning PCBs contain chemicals that can be harmful to the environment. It’s essential to properly dispose of used cleaning solution according to local regulations. Also, consider using environmentally friendly cleaning solutions wherever possible.

