The Art and Science of Clean PCB: Ensuring Longevity and Performance in Your Circuit Boards
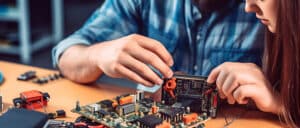
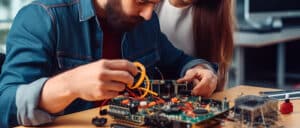
Printed Circuit Boards (PCBs) are the backbone of modern electronic devices, helping them perform complex tasks precisely and with accuracy. Just like any device requires cleaning from time to time to maximize performance and lifespan; this article explores why cleaning PCBs is so crucial and provides an easy-to-follow guide on how to do it effectively.
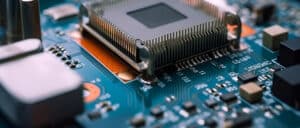
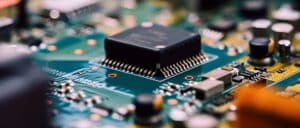
Cleanliness of PCBs plays an integral part of its overall performance. Over time, PCBs may accumulate dirt, dust, flux residue or ionic contamination during manufacturing processes that can accumulate over time – leading to short circuiting, corrosion or physical damage issues for components on board. Regular cleaning will help maintain reliability.
Here are a few steps for effectively clean PCBs:
1. Gather Your Tools:
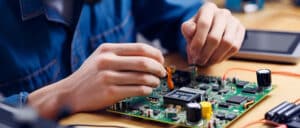
Gathering the appropriate tools is key when clean PCB, such as soft brushes, lint-free cloths, isopropyl alcohol (IPA), compressed air canisters and anti-static gloves – be mindful that handling electronic components requires precise attention so as to avoid static discharge which could damage it permanently.
2. Dry Cleaning:
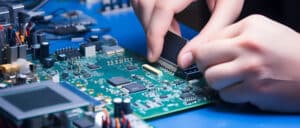
Begin with using a soft brush to carefully sweep away any visible dust or debris from the PCB’s surface using compressed air, followed by another soft brush to loosen any loose particles before using compressed air again to blow them off with caution and not cause physical damage to any components.
3. Wet Cleaning:
Dampen the lint-free cloth with some isopropyl alcohol and use it to carefully wipe down the PCB surface, using isopropyl to dissolve flux residue and other contaminants. Be sure to wear gloves during this process to protect yourself from direct contact with alcohol.
4. Drying:
Once the PCB has been thoroughly cleaned, it must be dried off completely. Simply leave it in an open and well-ventilated area until all of the alcohol has evaporated – this typically takes 10-15 minutes; or speed up this process using a hairdryer set on low heat setting.
Remember to apply gentle pressure when cleaning, to prevent damaging any components. Also ensure the PCB is completely dry before reassembling or powering up any electronics.
Maintaining PCB cleanliness ensures optimum performance, prolongs lifespan and can prevent unexpected failures or unpredicted behaviors from emerging – essential tools in any electronics enthusiast or professional’s arsenal. This routine maintenance should form an essential component of their toolbox.
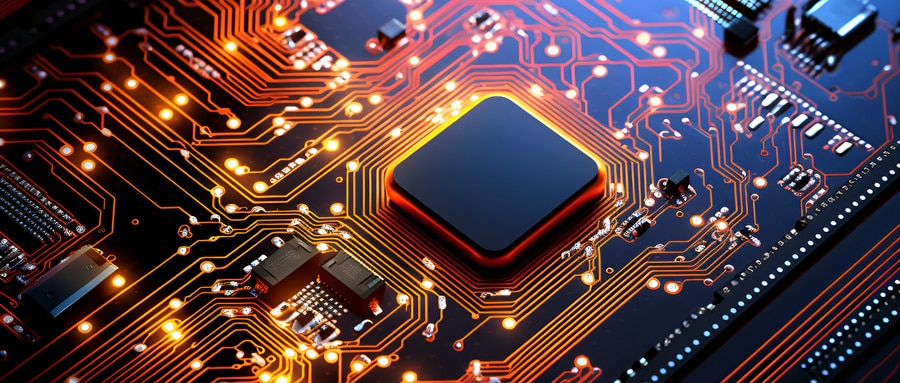
As with any aspect of electronics, clean PCB requires both art and science. It demands delicate handling, precision, and an in-depth knowledge of how different components respond to various cleaning methods. By honing your skills in PCB cleaning you can keep devices running stronger for longer; affirming the old saying ‘cleanliness is next to godliness’ even in electronics!
FAQ:
- Why is it important to clean PCBs?
Clean PCBs removes any residual contaminants such as flux, dust, and other foreign particles that may hinder the function of the board. A cleaner PCB will provide better functionality, reliability, and longevity for your electronic device. - How do I clean PCB?
A PCB can be cleaned using a soft brush or compressed air to remove larger particulates. For deeper cleaning, a special electronic/contact cleaning solution is often used. This will remove residual flux and other microscopic contaminants. - What chemicals are safe to use on PCBs?
Isopropyl alcohol (IPA) is often the go-to cleaning agent for PCBs. It’s important to use a highly refined version (usually 99%) to avoid leaving a residue. There are also specially synthesized PCB cleaning fluids available in the market. - Can I use water to clean PCB?
While some people do carefully wash PCBs with distilled water, it is generally not recommended because water can lead to oxidation of metal parts and is not as effective at removing substances like flux. If you must use water, ensure it’s completely dried before using the PCB. - How do I dry a PCB after cleaning?
After cleaning, a PCB is usually dried using compressed air. This helps to blow off any excess liquid from the PCB. It’s important to make sure the board is thoroughly dry before powering it up. - Is cleaning a PCB always necessary?
Not always. If a PCB has been manufactured cleanly and is operating in a clean environment, it may not require frequent cleaning. However, cleaning is important when the board starts showing signs of dirt accumulation or signal loss, or after any type of repair involving solder flux. - Are there professional PCB cleaning services?
Yes, several companies offer professional PCB cleaning services. These may be of interest to businesses or individuals who lack the confidence, resources or time to clean PCBs properly themselves. - Can I use a toothbrush to clean PCB?
For gentle cleaning, a soft-bristled, anti-static toothbrush can be used to scrub a PCB. This is particularly helpful in removing larger particulates or loosened flux residue. - Should I clean all parts of the PCB?
Most parts of a PCB can be safely cleaned, but care should be taken with certain components. Electrolytic capacitors, for instance, may be damaged by strong solvents, and LCD screens could be scratched or damaged. - Can cleaning the PCB resolve issues with my device?
Quite often a PCB issue can be resolved by a thorough cleaning process. Dirt and contaminants can cause shorts or interfere with the connections between components. However, cleaning will not fix problems due to component failure or bad solder joints.

