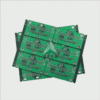
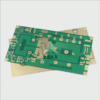
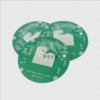
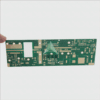
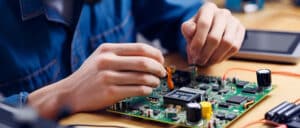
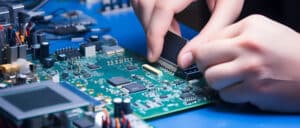
Understanding desoldering can be key when repairing or modifying printed circuit boards (PCBs). We typically solder to establish connections, but what happens if we need to reverse that process? This comprehensive guide walks through everything you need to know about desoldering to help ensure you tackle your next project with confidence.
- Desoldering Wick: Desoldering Braid; This tool made of copper serves to draw in solder molten from solder joints for desoldering applications, providing an affordable yet essential way of desoldering solders.
- Desoldering Pump: This tool can help remove solder during desoldering by creating a vacuum that pulls away melted solder with just the press of a button.
- Heat Source (Soldering Iron): A tool equipped with a heated metal tip used to melt solder.
- Safety Goggles: Goggles provide essential eye protection from accidental solder flecks or splashes.
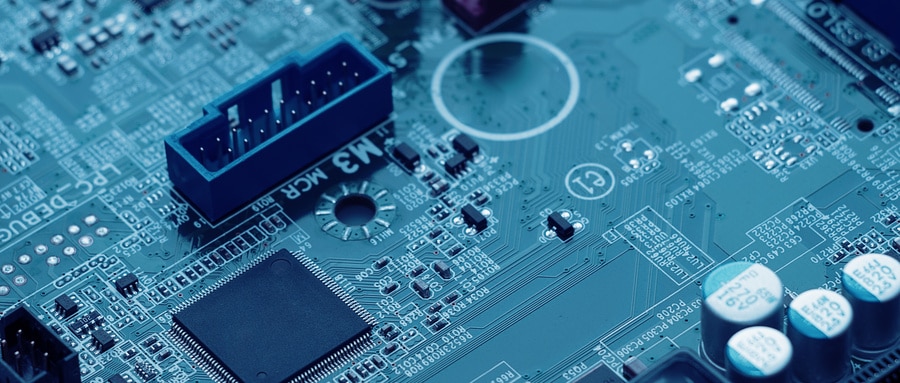
Desoldering Process:
How to Desolder PCB? Step 1:
Safety must always come first. Ensure you wear protective eyewear and work in an area with plenty of ventilation.
How to Desolder PCB? Step 2:
Plug your soldering iron in and allow it to heat up, as solder must first melt before it can be removed from its solder joint. A hot soldering iron will ensure optimal melting conditions, thus making its use essential.
How to Desolder PCB? Step 3:
Once you’ve identified which connection(s) on your PCB you want to desolder, apply a heated soldering iron directly over it in order to remove it by melting its solder. This should dissolve it.
How to Desolder PCB? Step 4:
To desolder solder from your surfaces, place a desoldering pump near it, press its button to create a vacuum and soak up most of it; if any hasn’t been completely extracted repeat heating and vacuum processes.
How to Desolder PCB? Step 5:
If there are still traces of solder remaining, use a desoldering wick. Simply lay the braid over any remaining solder and apply heat with your soldering iron on it; this will draw it up into the braid as more solder is absorbed, helping clean your area thoroughly.
How to Desolder PCB? Step 6:
Once all solder has been removed from the component, it can be safely extracted from its mount on the board and carefully handled before it has cooled down sufficiently.
How to Desolder PCB? Step 7:
Once all the desoldering has taken place, use an electronic cleaner to thoroughly wipe down your PCB area to eliminate any residue flux that remains from desoldering process.
Desoldering may appear daunting at first, but with practice and the proper tools at your disposal it will quickly become one of your essential electronics skills. This guide demystifies this process for beginners in electronics as it shows just how attainable it can be to desolder PCB successfully – take your time, be careful when desoldering, and have fun tinkering!
FAQ:
- Q: What is PCB desoldering?
A: PCB desoldering is the process of removing solder, and the components it’s holding in place, from a printed circuit board (PCB). - Q: When should I desolder a PCB?
A: Desoldering is often necessary when you’re repairing or modifying a circuit board, and need to remove or replace components. - Q: How do I start desoldering?
A: Start by heating the joint or connection with a soldering iron until the solder becomes molten, then remove it using a desoldering tool. - Q: What tools are needed for desoldering?
A: Typically, a soldering iron and desoldering pump (also known as a solder sucker) or desoldering braid are used. - Q: Is it possible to damage a PCB during desoldering?
A: Yes, improper or excessive heating can damage the PCB and its components. - Q: What is a desoldering braid used for?
A: A desoldering braid, also known as wick, is used to remove solder from a PCB. It is made from fine, braided copper wire that absorbs solder when heated. - Q: How do I use a desoldering pump?
A: Heat the solder joint with your soldering iron, then quickly place the tip of the pump over the molten solder and press the release button to suck it up. - Q: Can all components be desoldered from a PCB?
A: In theory, yes. However, delicate or small components may be difficult to remove without damage. - Q: Is there a technique for successful PCB desoldering?
A: Patience is key. Apply heat quickly but carefully, use the right tools, and make sure you’ve melted all the solder before trying to remove the component. - Q: Can you recommend any popular desoldering tools on the market?
A: Brands like Hakko, Engineer, and Aven make well-regarded desoldering tools, but the best one for you depends on your specific needs and budget. - Q: Can I reuse components after desoldering them?
A: Ideally, yes. However, they must be desoldered carefully to avoid damage. - Q: Is using a hot air gun an effective way to desolder components?
A: For larger components or multiple leads, a hot air gun can be useful. However, it can also potentially damage nearby components or the PCB itself. - Q: Is it hard to learn how to desolder PCB components?
A: There can be a learning curve to it, but with a bit of practice, anyone can learn to desolder effectively. - Q: How should I practice desoldering?
A: You may want to practice on an old or disposable PCB before working on something important. - Q: What safety precautions should I take when desoldering?
A: Always wear protective goggles and work in a well-ventilated area to avoid inhaling fumes from the solder. Also be aware that soldering irons and melted solder can cause burns, so handle them with care.

